Wednesday, 26 November 2014

Gratin Dauphinois Potatoes

This layed potato dish is something of a treat for me, i seldom make it outside the winter months because its very rich and quite heavy on the old stomach, but it's delicious - a guilty pleasure, if you will. If a food could be comforting, this'll give you a cuddle!

While it might seem daunting to make, the preparation is the only thing you need to be careful with, and there are no time constraints - you can prepare this before anything else you want to make, and it'll be absolutely fine sat on the side, or in the fridge, until you're ready for it. 

You will need the following ingredients:

1kg (2.2lb) of King Edward Potatoes
300ml of Double Cream
150ml of Semi-Skimmed Milk (Half Fat for Americans)
50g of Grated Cheese (Emmental or Medium Cheddar is ideal)
Three Garlic Cloves
Thyme
Salt & Pepper

Utensils Needed:

Large Mixing Bowl
Milk Pan or Small Saucepan
Ceramic Casserole Dish
Chefs Knife
Grater
Wooden Chopping Board
Mandolin (if you have one)

Before you do anything, pre-heat your oven to Gas Mark 2 (300° Fahrenheit / 150° Celsius).


The most important part of any gratin, is the thickness of the potato slices.Too thick, and the resulting dish will be too hard/chewy. Too thin and you'll end up with mush! If you have a mandolin to slice the potatoes, by all means use it. If not, then you can achieve the same results with a chef's knife, but sharpen it beforehand, and take your time. You want the slices to be around 3mm thick - if they taper off a little, or are thicker on one side, that's okay, just try and keep to 3mm as a rough guide.

Once cut, add the slices to the bowl.


You'll need a fair bit of salt & pepper for seasoning here, rough guide again is around one heaped teaspoon of coarse ground, for both. Add the seasoning to the bowl, and mix through with both hands - try to get all the potato covered in at least a little bit, you don't want to leave any bits unseasoned if you can help it.


Once seasoned, take your casserole dish, and layer the slices in, no need for any kind of pattern, just keep them flat, and build up layer by layer...


...until you end up with something that looks like this.


Once that's done, take your garlic cloves and finely grate them into a bowl. Don't crush them or chop them. Add two heaped teaspoons of thyme, and set to one side. 


Pour the double cream and milk into your milk pan and put on the lowest ring at high heat to get it to a simme.


Once the milk/cream is starting to simmer, turn the heat OFF! If you don't, you'll end up with it foaming and boiling all over the stove. Add the grated garlic and thyme to the pan, and whisk in vigorously.

Pour the mixture over the potatoes in your casserole dish evenly. It'll seep through all the little gaps and reach the bottom level, don't worry!


Place on the top shelf of the oven for 1 hour 30 minutes, before removing to sprinkle the cheese over the top. Place back into the oven for a further 15 minutes, until the top is golden brown as shown below. 


This will easily serve four very hungry people, it may look like a small amount, but the dense, rich potatoey goodness will fill you up very quickly!

Smoked Salmon Butter Terrine

As Christmas nears, people tend to start eating fancier things they would never consider during the rest of the year. One of the things i like to do, is buffet suppers. Just some crackers, melba toast, cheese, a little salad & cold cuts, and this brilliantly simple terrine.

Upside to this recipe? It takes minutes to prepare, and doesn't need to be cooked at all. The only downside to this recipe is that it's so delicious, it won't last long! Oh well, i suppose it gives you an excuse to make another one!

You will need the following ingredients:

2 x 280g Packs of Smoked Salmon
50g of Salted Butter (softened)
2 tablespoons of double cream
Lemon Juice
Herbs (optional)

Utensils Needed:

Food Processor (this is unfortunately mandatory!)
Palette Knife
Glass Bowl
Clingfilm (Saran Wrap for the Americans)


Open one of the packs of smoked salmon, and unceremoniously chuck it into the food processor. Set the speed as high as it'll go and turn it on, blitzing it until it looks like it does below.


At this point, add the 50g of softened butter, and the herbs (if you wish). I've used parsley, but chvies and dill work equally well - it's entirely up to you what to add. Also add the lemon juice at this stage. I generally use two capfuls, enough to give it a nice tangy edge, but not enough to overpower it. As with the herbs, it's optional!


Blend again to a smooth consistency...


...and then add the double cream.


That's it! From this point onwards it's just packaging, you could keep that in the fridge for putting onto canapés if you like.

Take your glass bowl and line it with clingfilm. It's a little fiddly because it seems to dislike sitting at right angles - don't worry about creases though, as long as it's not too creased.


Open the other pack of smoked salmon and line the bowl with it. Again, you don't need to worry about uneven edges - it'll all work out fine.


 Fill the mould with the salmon butter...


...and fold over the overhanging salmon, using any leftover salmon from the pack to seal the top. Fold over the clingfilm and press down lightly. Place in the fridge for at least 2 hours.


Once it's set, you can turn it out onto a serving plate. Do this by opening up the clingfilm, putting a plate over the terrine and turning the mould upside down. If the mould stays where it is, give it a little tug on the clingfilm to coax it out and onto the plate. Keep refrigerated until ready to serve.


If you're preparing this in advance of a party, be aware that you'll need to re-cover the plate with clingfilm, trying not to deform the moulded terrine. This will stop the smoked salmon on the outside from drying out - you want to keep it moist.

Once made, this will keep in the fridge for a maximum of THREE days. Any leftover after that point should be thrown away. Fish is the one thing i take absolutely no chance with when it comes to expiry dates - the risk is too great!

Wednesday, 30 July 2014

Feta & Tomato Stuffed Bell Peppers

I love peppers. I try and shoehorn them into as many dishes as i can get away with - sweet & crunchy deliciousness. However, they're usually just another ingredient in a larger recipe. This won't do at all - time to make the peppers the star! These are ideal summer fayre as despite being cooked, they're light, so they can be used as a side dish as well as the main dish.

You can use whatever cheese you like, you don't have to use Feta. Mozzarella & Cheddar work equally well. Again, this recipe involves peeled tomatoes, so just refer back to the tutorial a few posts back if you've run out already.

You will need the following ingredients:

2 large peeled Tomatoes
2 large whole Red Bell Peppers
125g of Feta Cheese
Handful of fresh Basil
4 crushed Garlic Cloves
Olive Oil

Utensils Needed:

Chopping Board
Chef's Knife
Pyrex or Ceramic Dish


Pre-heat your oven to Gas Mark 3 (350° Fahrenheit / 180° Celsius). Cleave the peppers lengthwise, keeping the stalk in place. Sharpen your knife beforehand, the stalks can be quite tough.


Remove the seeds and as much of the white bits as possible while retaining the stalk, as shown below.


Take your peeled tomatos, slice them into quarters, discarding the stalks in the process. Each pepper half will hold two quarters.


Place all the newly tomato stuffed pepper halves into your oven dish. To keep the peppers level in the dish, use small balls of tinfoil to 'wedge' the peppers into place.


Mix the crushed garlic with two tablespoons of olive oil.


Take your handful of basil...


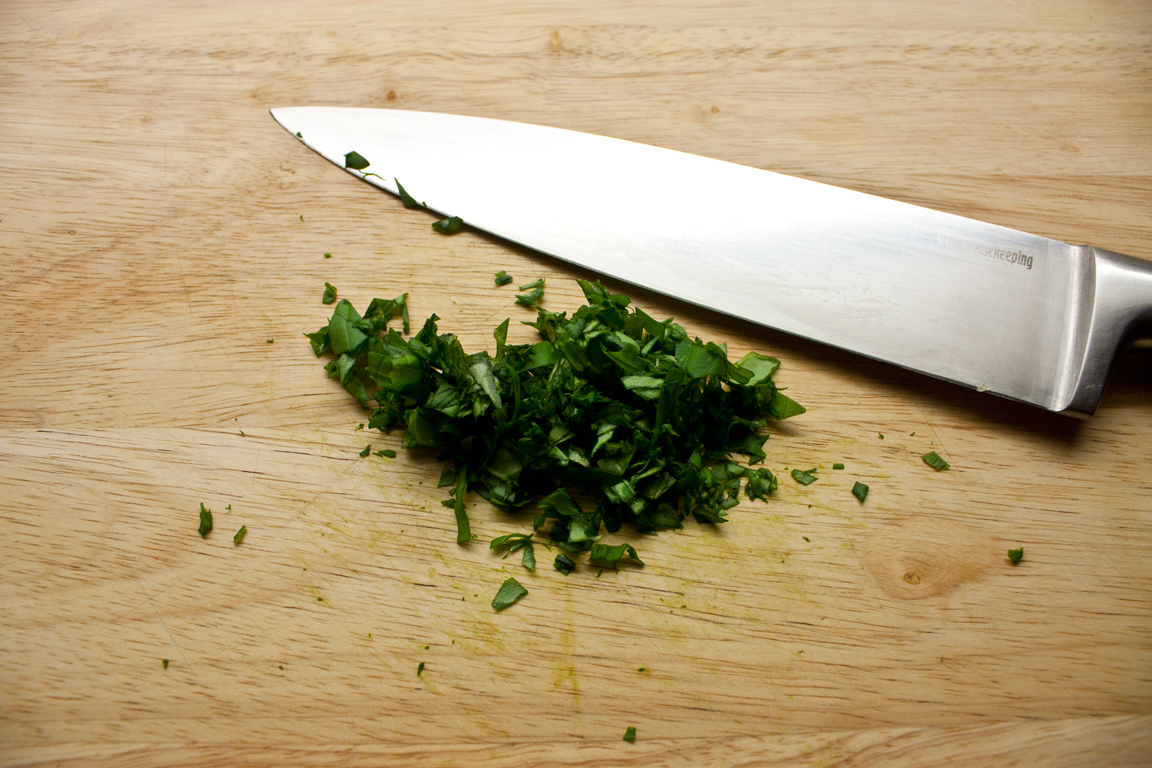
...and go mad with a knife! If you don't have any fresh basil, dried will work perfectly well, just be careful not to use too much of it.


Cube the feta and divide it between the peppers. Then drizzle the garlic & olive oil over the feta, and finally sprinkle liberally with the basil.


Place in the top of the oven for at least 20 minutes. To get them out of the dish afterwards, you may find a shallow serving spoon rather handy - i've tried tongs before and it just ends up with a mess!


These peppers are brilliant served with some grilled chicken on a bed of basmati rice, or just on their own as a quick lunch :)

Sunday, 27 July 2014

Perfect Salsa

What better to go with your perfect Guacamole, than a nice bowl of Perfect Salsa? :D

Okay, seriously, i've seen the horrifying 'salsa' that gets sold in the shops and i've even dared to taste it. It's definitely not what salsa is supposed to taste like, it's the wrong consistency and if i could sum it up in one word, it'd be 'Ew.'

If you're making any kind of mexican food, be it a burrito or fajita or even just feel like using it as a side to another dish, this is what salsa is supposed to be. Fair warning - it is time consuming to make but i hope that you'll think it's worth it once you taste the end result.

You will need the following ingredients:

6 large peeled Tomatoes
Bunch of Spring Onions
1 whole Lime
1 large green Chilli (or 3 small ones)
Handful of fresh Coriander

Utensils Needed:

Chopping Board
Chef's Knife
Two Bowls


Trim the spring onions to about 3" in length.


Chop as finely as you can and add to the bowl.


Cut the chillies lengthwise and de-seed them.


Slice lengthwise and chop as finely as you can again - you don't want to be stuck eating a large chunk of green chilli, unless you have an asbestos face!


Now comes the messy part. De-seeding your tomatoes. As with the Guacamole recipe, reduce your peeled tomato to the point shown below. Repeat for the remaining 5 tomatoes.


Once de-seeded, rinse them in a bowl of cold water.


Slice each segment lengthwise and chop into 1cm wide chunks.


Add to the bowl with your handful of chopped coriander, a big pinch of salt, and the juice of the lime.


Simply mix through with a spoon and voila - Salsa!


It's ready to use as it is, but rather than a burrito or fajita, i decided to serve mine with some Salmon Fishcakes for a low-fat, healthy dinner :)

Perfect Guacamole

I realise 'perfect' is just my opinion, but hopefully once you've made this, you'll agree with me! It's so much better than any of that horrible green ooze you get in a jar in the supermarket that tastes nothing like Avocado. It's not hard to make at all, and if you have a food processor, takes less than 10 minutes.

You will need the following ingredients:

4 large Avocado's
Bunch of Spring Onions (Scallions, for you Americans...)
1 large peeled Tomato
1 large green chilli (or 3 small ones, as pictured)
1 whole lime
Handful of fresh Coriander (Cilantro)
Cayenne Pepper
Ground Cumin
2 cloves of Garlic (optional)

Utensils Needed:

Chopping Board
Chef's Knife
Bowl
Food Processor (if you have one, if not, use a fork and a bowl)


I'm aware the garlic isn't shown in the above picture, but as mentioned in the ingredients list, it's optional, and i didn't have any left!


Regardless of whether you're using a food processor or not, you want to take your spring onions, chillies and tomato and prepare them. Split open and deseed the chillies, crop the spring onions and peel off the outer layer if it's a little manky. With the tomato, cut through the middle, use a 'v' groove to remove the stalk, cut in half again and de-seed it. If adding garlic, crush at least 2 cloves and add it at this stage.

At this point if you're using a bowl and a fork, chop all three up as fine as you can with the knife, and add to your mixing bowl with your handful of chopped coriander. As i'm using a food processor, i added it, and pulsed it a few times to reduce it all to what is shown below.


Split open your avocado's, remove the stone, and peel off the skin. Add the flesh to your mixing bowl/food processor with the rest of the ingredients. Half a lime is usually enough for three avocado's, but for four, you want to use a whole one. Add a large pinch of salt, a heaped teaspoon of ground cumin and half a teaspoon of cayenne pepper.


Consistency is entirely up to you, but i prefer my guacamole with plenty of nice chunks in it. I use the 'pulse' function on my food processor a few times to get it looking like below.


There - that wasn't so hard now, was it? Now go and grab yourself a bag of tortilla chips, or add it to a burrito/fajita :)

Tutorial - How to remove the skin from Tomatoes

There are often times in recipes that call for peeled tomatoes, and i have a few myself ready to put up. It might sound pretty daunting, but actually it's pretty simple, you just have to pay attention to the timing. It's best to do them in large batches due to the fact it can seem like a bit of a chore.

You will need the following ingredients:

7 large vine tomatoes (you can use any tomato, but the smaller, the fiddlier!)

Utensils Needed:

Chopping Board
Chef's Knife
Large Saucepan
Large Bowl
Slotted Serving Spoon
As much Ice as you can get hold of


First off - 3/4 fill a large saucepan with water and get it upto a nice, rolling boil.


Check the tomatoes are firm - soft tomatoes will fall apart, so make sure they're as fresh as possible.


Score the tomatoes with a large 'X' on the underside with your knife. Try not to score the flesh too much if you can help it.


Now, this part is time critical and can be fiddly. Use the slotted spoon to put all of the tomatoes into the saucepan of boiling water, and count down 60 seconds. NO MORE THAN 60 SECONDS! Smaller tomatoes will need less time but never exceed 60 seconds regardless of the size of tomato.


Take the tomatoes out of the boiling water and plunge them straight into ice water. The colder the better. It stops the tomatoes from cooking, and makes it easier to remove the skin.

Leave them in the water for at least 5 minutes before peeling them. Start at the 'X' mark and the skin should come away with ease. The tomato will feel a little soft & slippery, so return it to the water to rinse off.

You should be left with a bowl of lovely skinned tomatoes, as shown below.